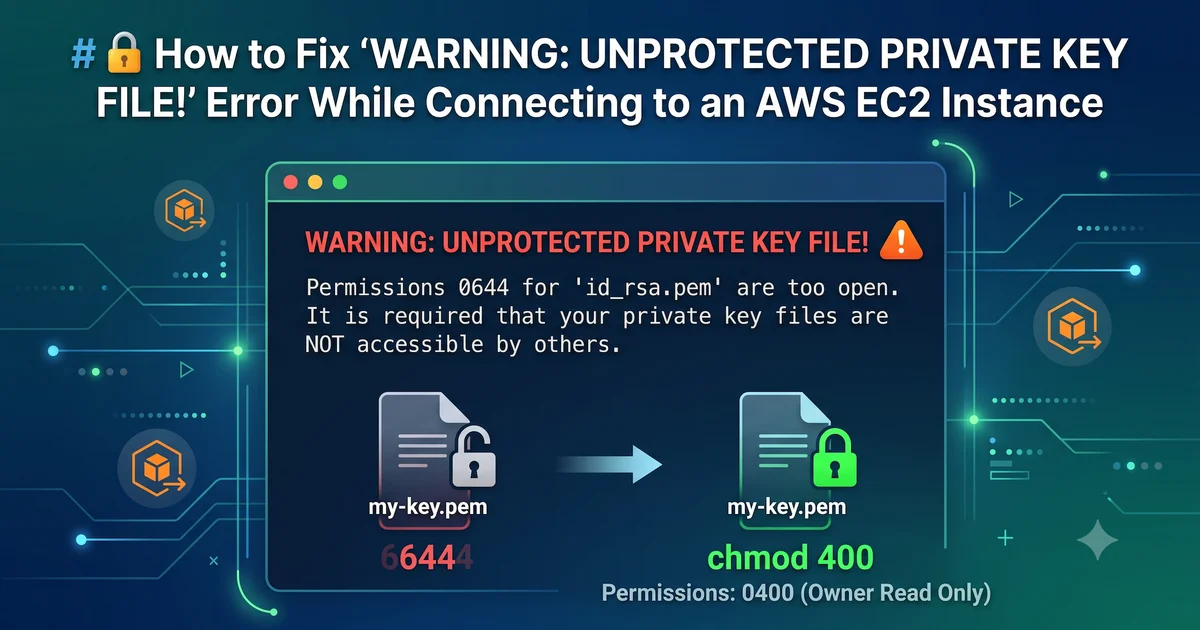
If you're trying to connect to an Amazon EC2 instance using SSH and see the following error:
@@@@@@@@@@@@@@@@@@@@@@@@@@@@@@@@@@@@@@@@@@@@@@@@@@@@@@@@@@@
@         WARNING: UNPROTECTED PRIVATE KEY FILE!          @
@@@@@@@@@@@@@@@@@@@@@@@@@@@@@@@@@@@@@@@@@@@@@@@@@@@@@@@@@@@
Permissions 0644 for 'kejalnovasrvkey.pem' are too open.
It is required that your private key files are NOT accessible by others.
This private key will be ignored.
Load key "kejalnovasrvkey.pem": bad permissions
ec2-user@33.89.5.90: Permission denied (publickey,gssapi-keyex,gssapi-with-mic).
Don't worry—this is a common SSH security issue. In this guide, I'll explain why it happens, what it means, and how to fix it step by step.
📌 Why Does This Error Occur?
SSH private key files are highly sensitive because they are used to authenticate your identity when connecting to a remote server.
For security reasons, OpenSSH checks who can access your private key before using it.
If your private key can be read by other users on the same computer, SSH refuses to use it and displays the following warning:
WARNING: UNPROTECTED PRIVATE KEY FILE!
This is a built-in security feature designed to protect your AWS EC2 instance from unauthorized access.
🔍 Understanding the Error
Let's break down the error message.
1. WARNING: UNPROTECTED PRIVATE KEY FILE!
WARNING: UNPROTECTED PRIVATE KEY FILE!
Meaning
Your private key file has permissions that allow other users on your system to read it.
SSH considers this insecure and refuses to use the key.
2. Permissions 0644 are too open
Permissions 0644 for 'kejalnovasrvkey.pem' are too open.
What does 0644 mean?
The permission 0644 means:
| User | Permission |
|---|---|
| Owner | Read + Write |
| Group | Read |
| Others | Read |
In Linux notation:
-rw-r--r--
This means everyone on the system can read your private key, which is not allowed.
3. Private key will be ignored
This private key will be ignored.
SSH ignores the key completely because it is considered insecure.
4. Permission denied (publickey)
Permission denied (publickey,gssapi-keyex,gssapi-with-mic)
This error appears because SSH ignored your private key and therefore could not authenticate with the EC2 instance.
📋 Check Current File Permissions
Run the following command:
ls -la kejalnovasrvkey.pem
Example output:
-rw-r--r-- 1 kejal kejal 1678 Jul 26 23:09 kejalnovasrvkey.pem
Understanding the Output
| Part | Description |
|---|---|
- |
Regular file |
rw- |
Owner can read and write |
r-- |
Group can only read |
r-- |
Others can only read |
Because both Group and Others have read permission, SSH rejects the key.
✅ Fix the Problem
Update the file permissions so that only the owner can read the private key.
Run:
chmod 400 kejalnovasrvkey.pem
📖 What Does chmod 400 Mean?
chmod changes file permissions.
The permission value 400 means:
| User | Permission |
|---|---|
| Owner | Read |
| Group | No Permission |
| Others | No Permission |
Result:
-r--------
Only the owner of the file can read it.
This is considered secure by OpenSSH.
🔍 Verify the New Permissions
Run:
ls -la kejalnovasrvkey.pem
Expected output:
-r-------- 1 kejal kejal 1678 Jul 26 23:09 kejalnovasrvkey.pem
🚀 Connect to the EC2 Instance
Now connect again:
ssh -i kejalnovasrvkey.pem ec2-user@33.89.5.90
Successful output:
Amazon Linux 2023

[ec2-user@ip-12-10-44-16 ~]$
Congratulations! You are now connected to your EC2 instance.
📝 Understanding the SSH Command
ssh -i kejalnovasrvkey.pem ec2-user@33.89.5.90
| Part | Description |
|---|---|
ssh |
Starts an SSH connection |
-i |
Specifies the private key file |
kejalnovasrvkey.pem |
Your EC2 private key |
ec2-user |
Default user for Amazon Linux |
33.89.5.90 |
Public IPv4 address of the EC2 instance |
⚠️ Replace These Values
Before running the SSH command, replace the following values with your own.
| Replace | With |
|---|---|
kejalnovasrvkey.pem |
Your downloaded EC2 private key |
33.89.5.90 |
Your EC2 Public IPv4 Address |
ec2-user |
Username based on your operating system |
👤 Common EC2 Default Usernames
| Operating System | Username |
|---|---|
| Amazon Linux 2 | ec2-user |
| Amazon Linux 2023 | ec2-user |
| Ubuntu | ubuntu |
| Debian | admin or debian |
| CentOS | centos |
| Red Hat Enterprise Linux | ec2-user |
| SUSE Linux | ec2-user |
Using the wrong username can also result in:
Permission denied (publickey)
📌 Important Notes
Keep your private key secure
Never share your .pem file with anyone.
Anyone with your private key may be able to access your EC2 instance if network and account settings allow it.
Don't upload your private key to GitHub
Your private key should never be committed to a Git repository or shared publicly.
If it is exposed, create a new key pair and update your EC2 instance accordingly.
Store the key in a safe location
Instead of leaving the key in the Downloads or Desktop folder, store it in a secure directory such as:
~/.ssh/
Example:
~/.ssh/kejalnovasrvkey.pem
Verify the key file before connecting
Run:
ls -la ~/.ssh/kejalnovasrvkey.pem
Expected:
-r--------
Verify the instance is running
Ensure:
- The EC2 instance is in the Running state.
- The Security Group allows inbound SSH (TCP port 22) from your IP address.
- You are using the correct public IP or public DNS name.
💡 Frequently Asked Questions
Can I use chmod 600 instead of chmod 400?
Yes.
chmod 600 gives the owner read and write permissions:
-rw-------
SSH accepts this permission as well.
Many administrators prefer 400 because it prevents accidental modification of the key file.
Why is SSH so strict about file permissions?
SSH assumes that if other users can read your private key, they could impersonate you and gain unauthorized access to remote systems. Restricting access to the key helps protect your account and the server you are connecting to.
🎯 Conclusion
The "WARNING: UNPROTECTED PRIVATE KEY FILE!" message is not an AWS issue—it's an OpenSSH security feature that protects your private key.
By restricting the key file so only you can read it, SSH can safely use the key for authentication and establish a secure connection to your EC2 instance.
In most cases, the fix is as simple as:
chmod 400 kejalnovasrvkey.pem
After updating the permissions, reconnect using your private key, the correct username, and your EC2 instance's public IP address.
Happy learning and secure SSH connections! 🚀
// comments (0)
// no comments yet — be the first!
Want to join the discussion?
→ login create account